Building a CNC enclosure
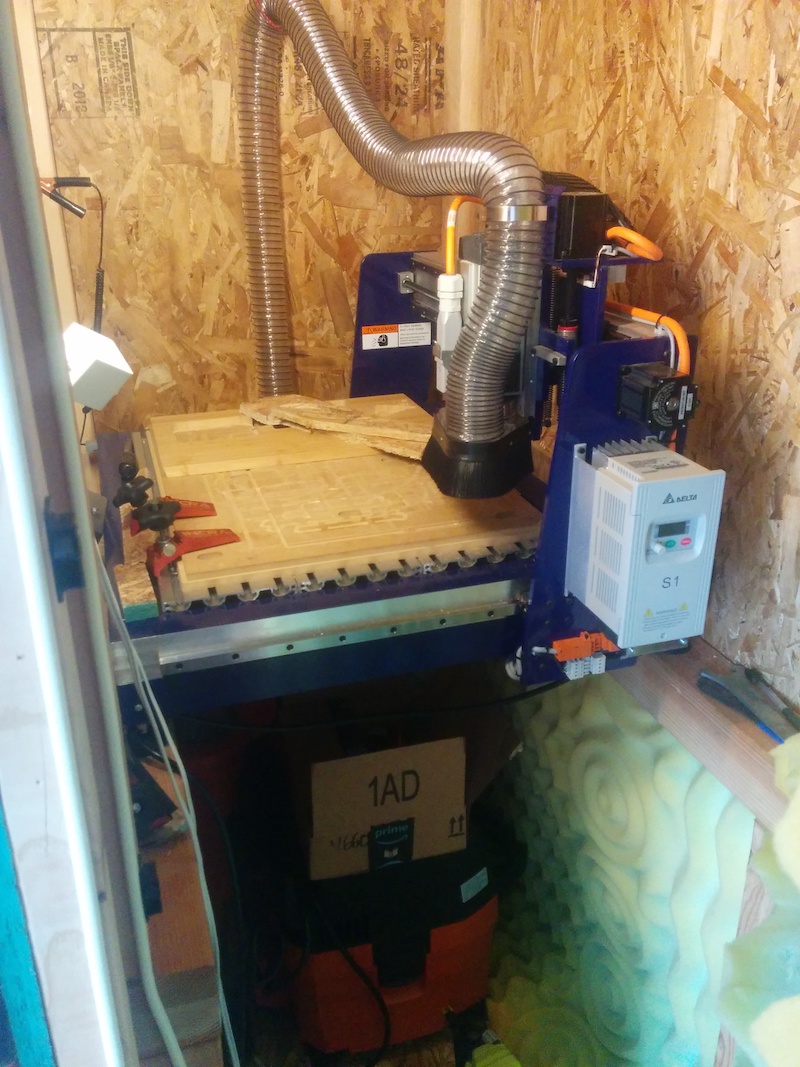
← Back to Kevin's homepagePublished: 2019 September 9Back in 2015, I purchased a Shopbot Desktop CNC to build a cell phone. The machine works great, but both the machine and its dust collection equipment are noisy, so I built a sound-dampening enclosure:
I looked at many YouTube videos and write ups on DIY machinery enclosures (e.g., Nomad enclosure zoo and Shapeoko enclosure list), but they lacked detail about design tradeoffs and quantitative measurements of performance.
This article overviews acoustic construction principles, enclosure design, measured performance, and ends with things I’d do differently next time.
Acoustic principles
The best practical source of knowledge I found were online forums for musicians practicing at home and home movie theater enthusiasts. Through the former I discovered Gervais’s Home Recording Studio: Build It Like the Pros, which is a great overview of acoustic principles and construction. Roughly:
- mass dampens sound, and since mass is mass, just build with the cheapest mass (typically OSB or drywall)
- build airtight assemblies
- eliminate “flanking sound paths” (coupling, whether through resonance or rigid materials)
The decibel scale is used to measure sound. tl;dr:
- every doubling of mass increases isolation (i.e., dampens sound) by 6 dB
- 3 dB is a doubling of (physical) power
- 10 dB sounds like a doubling to human ears (because our perception of sound is logarithmic rather than linear in power)
Design
Beyond the loose acoustic goal of “make the CNC less annoying”, there were several other constraints:
- fit into a 36" wide confined space (tricky, since the Shopbot is about 31" deep)
- contain the dust collection system (a shopvac and Dust Deputy), since that’s usually louder than the CNC itself
- extra space to contain a possible future vacuum hold-down setup
- reasonably convenient door mechanism
- CNC machine bed at standing height (no bending down to add/remove parts to the machine)
- reasonable materials costs (say, $500)
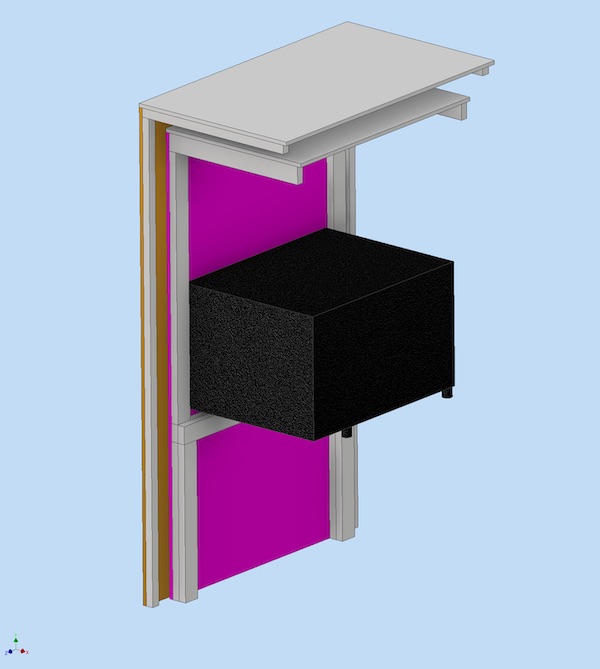
I settled on a “box-within-a-box” design made from 2x dimensional lumber and ¾" OSB. Here’s a rendering showing the ceiling and one side of each box, with the CNC working volume in black (for scale, the pink inner wall is a full 4x8 sheet):
Reasoning + other details:
- air gap provides more isolation for the same amount of material (i.e., two walls rather than a double-thickness single wall)
- dimensional lumber for framing is cheaper, more massive, and easier to work with than metal framing
- OSB is about the same cost and density as drywall, but holds screws better, which makes it more adaptable for mounting tubing, additional equipment, etc.
- no window (I’m using a webcam, which works fine)
- each box has its own door (cut from a single ¾" OSB sheet) mounted with four hinges
The biggest design challenge for this project was my lack of “acoustic intuition” — I had no feeling for the relative performance of wall thicknesses, specialty acoustic glues, mounting clips, etc.
Construction notes
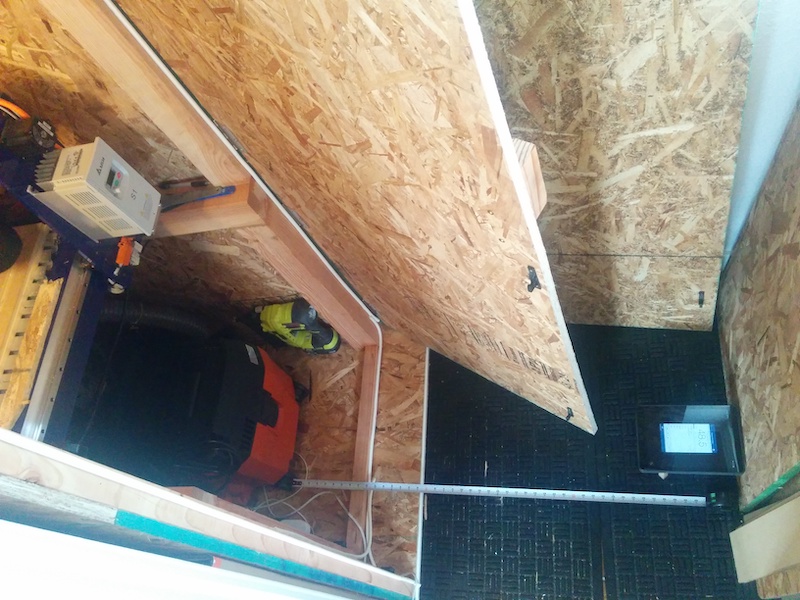
For each box, the three sides and ceiling were all cut and assembled separately:
- OSB screwed onto framing from the outside using GRK #8x2" cabinet screws (the back ¾" of this screw is unthreaded, which squeezes the OSB onto the 2x framing)
- framing gaps sealed with silicone caulk
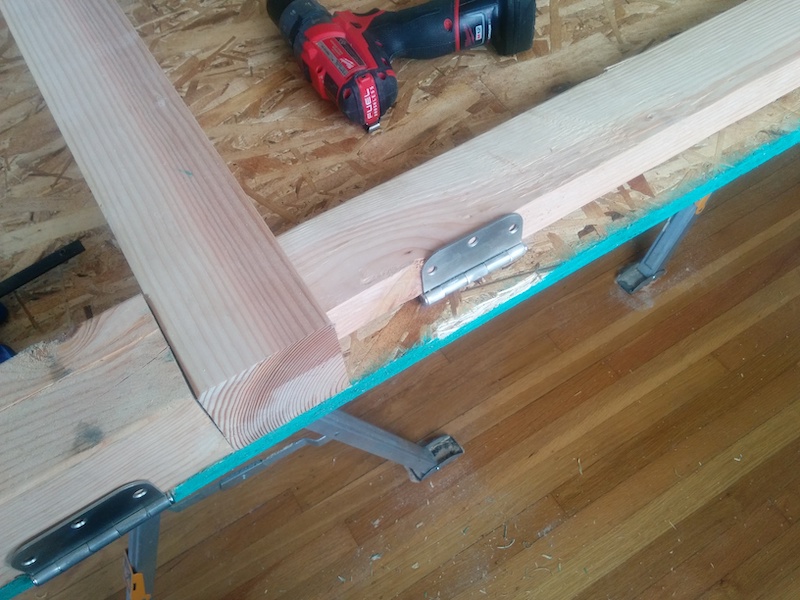
Hinges for the doors were added on the appropriate side before assembly, chiseling out necessary clearance:
The doors themselves were hung after the boxes were assembled, with weather stripping to ensure airtightness.
The pressure from this weather stripping kept popping open the first two kinds of door catches I’d tried:
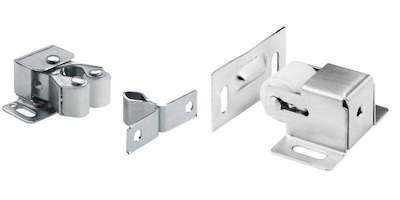
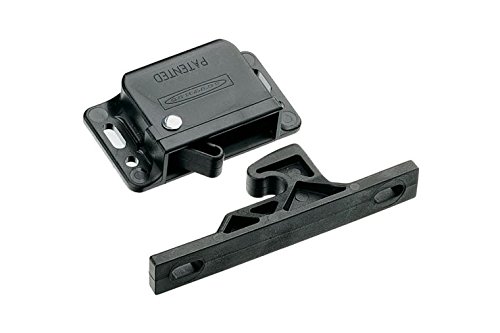
so I purchased these 44N Southco catches (the “N” is newtons of force to required to open the catch):
Each door has three of these catches, which were installed after the doors were hung.
The sides of the boxes were assembled in-place on top of a fixed 2-sheet-thick floor. The ceiling panel and rear sheet were screwed into the side wall framing (the 36" confined space meant no screws could be added from the sides).
All-in-all, the enclosure took just under 10 sheets of ¾" OSB and total material cost was around $300.
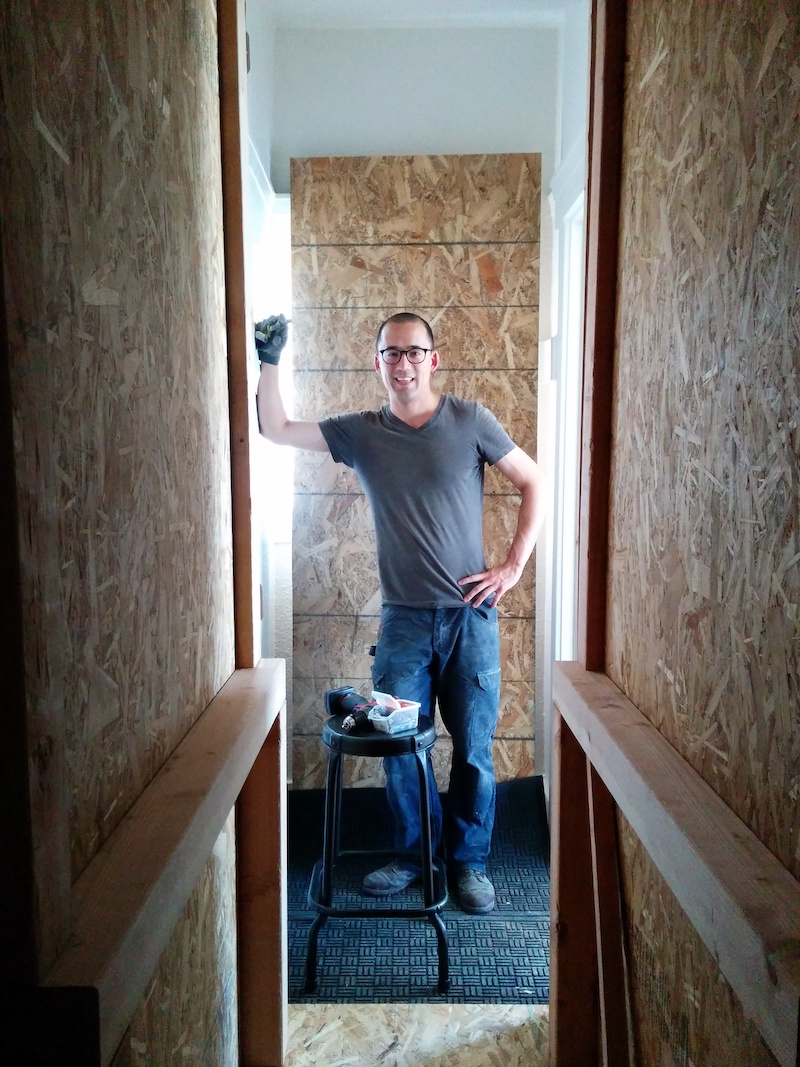
A mid-construction photo of yours truly:
Acoustic performance
Despite my best hopes, the enclosure does not make the CNC inaudible — standing directly outside the enclosure, the sound is best described as “the person in the neighboring apartment is vacuuming” (In hindsight, it’s pretty obvious: The enclosure is just a separate room).
To further reduce the noise, I replaced my basic Shop-Vac with a Fein Turbo, which has a reputation for being not-deafening.
To quantitatively test the performance of the enclosure, I used the NIOSH Sound Level Meter App on a 6th generation (A1893) iPad, placed 6" above the floor about 36" from the vacuum inside the enclosure:
Some caveats about the following measurements:
- the iPad is not calibrated (it’s just the best microphone I had laying around), so measurements should be taken as relative rather than absolute
- putting a loud thing in a box with only one open side probably makes it much louder than if it were open in the middle of, e.g., a large workshop
- all measurements were taken with ~15s samples, reporting the “LAeq” value
- I don’t know much about acoustics, so take everything with a grain of salt
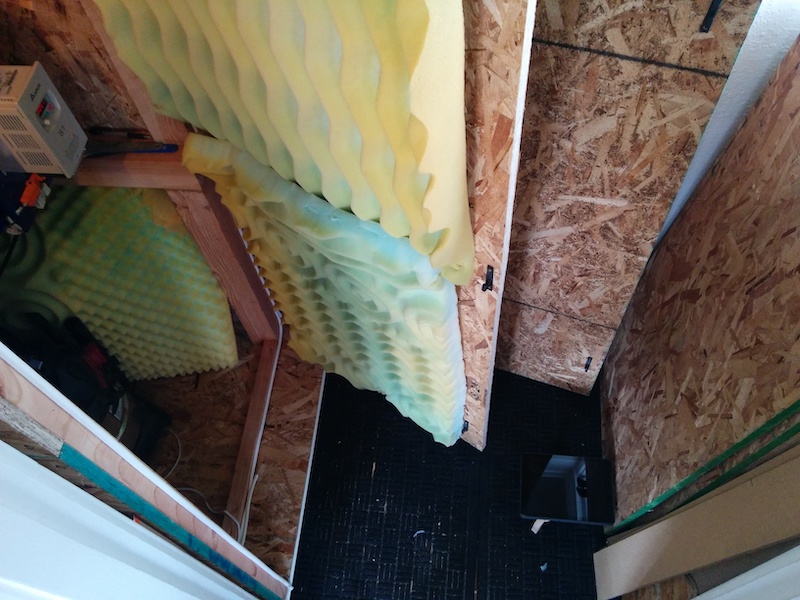
After initial measurements were taken, I added open-cell, “hey Kevin I’m throwing this out, you want it?” foam to the door and two sides around the vacuum:
Here are the isolated sound measurements, plotted from measured silence on the left to the loudest measurement (the open Shop-Vac) on the right; black dots are without foam, green dots are with foam:
Shopvac
Fein
Spindle at 16k RPM
The vertical scale shows 10 dB increments (i.e., perceptual volume doubling). I’ve deliberately left the absolute values unlabeled since nothing was calibrated (if you absolutely must see them you can view the SVG source).
A few things to note:
- between the enclosure and quieter Fein vacuum, the sound level is reduced by almost 40 dB (8 times)
- the foam made the both-doors-closed Shop-Vac and spindle measurements slightly louder; not sure what’s going on there
- for the Fein and spindle-only measurements, closing the second door has only minor (5 dB?) effect
Next time
Based on the measured performance of this enclosure, next time I’d skip the box-within-a-box design, which had a lot of fiddly details (framing, multi-sheet walls for the outer box, inner door opening clearance, etc., etc.).
Instead, I’d probably opt for a single, more massive wall, built out of, say, three sheets of ¾" OSB laminated together. With three sheets, one could design and build wall segments that easily mate with each other using “tongue and groove” joints.
If I really wanted to find an optimal enclosure, I’d build a series of prototypes and measure their performance experimentally. That is, I’d build a ¾" single layer box and see how well it isolates a wireless speaker blasting a recording of a vacuum cleaner. Then I’d add additional ¾" layers of material until I reached some sound isolation (or budget) threshold.
Misc. notes
If I were strapped for cash (and had a pickup truck), I’d try using a broken fridge/freezer as an enclosure.
I considered the problem of heat buildup within the box. I’m using the machine for prototyping (e.g., 10–20 minutes of machining per hour, tops) so didn’t think it’ll be a problem. Back of the envelope math shows that I can buy a fair amount of time using frozen jugs of water, if it comes to that (it hasn’t):
- Assume vac + CNC = 1.5 kW, maximum allowable temperature of 40C
- 1 gallon of water = 3.8 kg, enthalpy of fusion 333 J/g, heat capacity 4.2 J/(g k)
- so energy to melt 1 gallon water to 40C (105 F) = (* 3800 (+ 333 (* 40 4.2))) = 1.9e6 J
- 1 gallon melt provides (/ 1.9e6 1.5e3) = 1266 s => 20m runtime per frozen gallon jug of water
The CNC is controlled by a $200 Windows mini PC inside of the enclosure. The PC is wired via ethernet directly to a Mac Mini, and I run the CNC via Windows Remote Desktop. (Aside: We’re up to Cat7 cable now! And you don’t need patch cables anymore, hardware does it automatically! Wow!)
I use a $26 Wyze Cam flashed with open source firmware to see inside the enclosure. The camera is viewable over wifi locally, no cloud involved. (Latency can be a few seconds, though, so I’m looking into alternatives.)